In this tutorial, you will learn how to access the Seedbox Remote Desktop on Windows and Mac using X2Go client.
X2Go is simple to use and also fit low bandwidth conditions.
Step 1
Download and Install X2GO Client on your local machine:
Step 2 – Logging in the Remote Seedbox Desktop
Open the X2Go client and locate the login credentials you received when you ordered a seedbox.
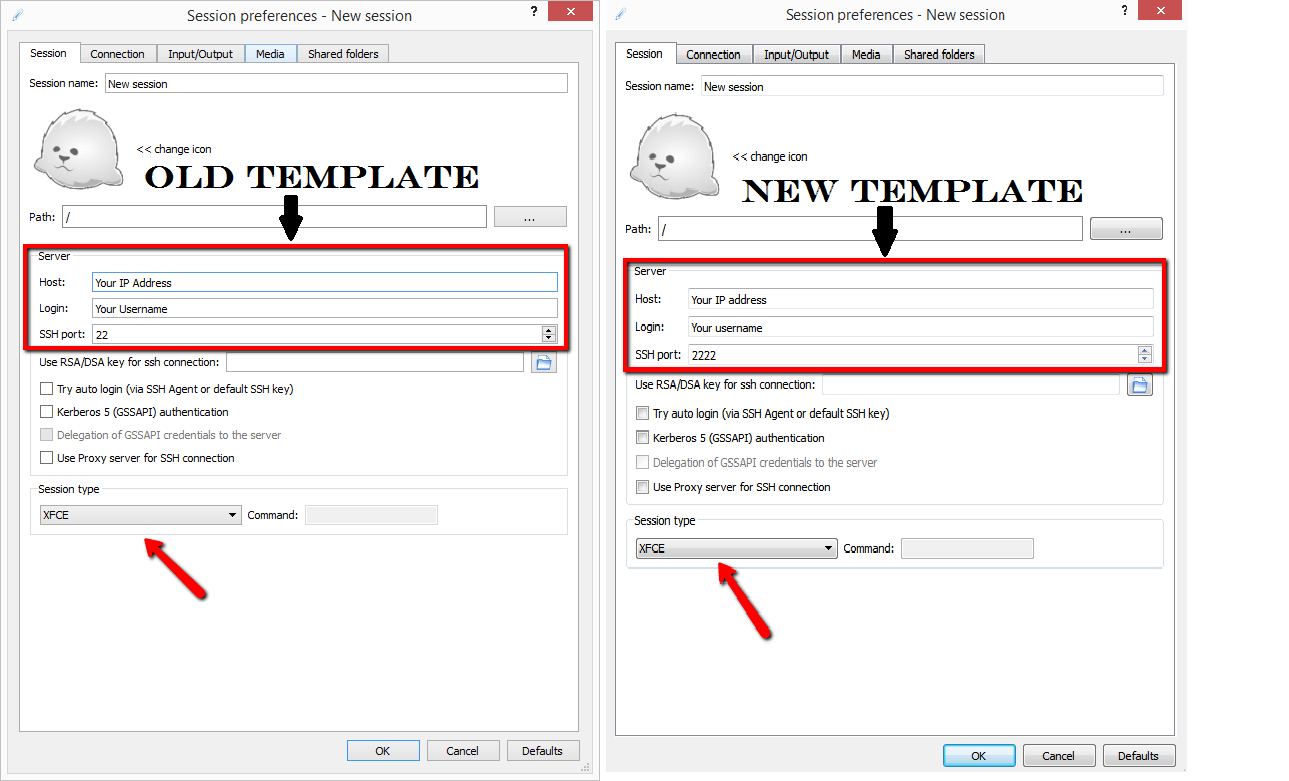
The Remote Seedbox Desktop login credentials contain the following information:
- Host (Your Seedbox IP Address)
- Login (user)
- Password (Your Password)
- SSH port: If you are an older user or you are using older templates use port (22), if you are a new user you are probably using our new template so you need to use port (2222).
- Session Type (XFCE)

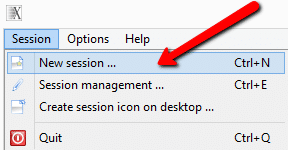
Please click on Session > New Session to create a new session.
Submit your login details (Password will be submitted later):
Tip: While configuring your new session, click on the Input/Output tab, and under “Display” choose a custom size of Width=1600 and Height=900, this is our favorite resolution which works very well.
Step 3

Open the session you created and log in using the username and password:
If you see a “Host key verification failed.” popup box that says: The server is unknown. Do you trust the host key? Please click on Yes to trust this connection.
Tip: If you want to change your X2go password, log in via SSH console and issue:
|
1 |
passwd user |
You will be prompted twice to enter the same password.
After this is done, remove the previous session from the X2go client, and try connecting.
Mac users might need to remove their ssh_hosts entry via:
|
1 |
ssh-keygen -R SEEDBOX_IP:2222 |
Step 4

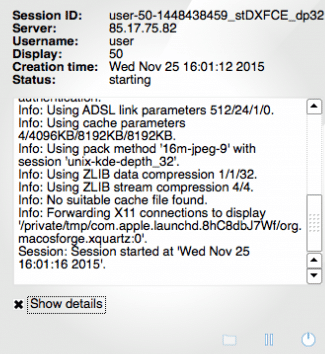
A successful login will result in a log session that shows the progress of the connection process.
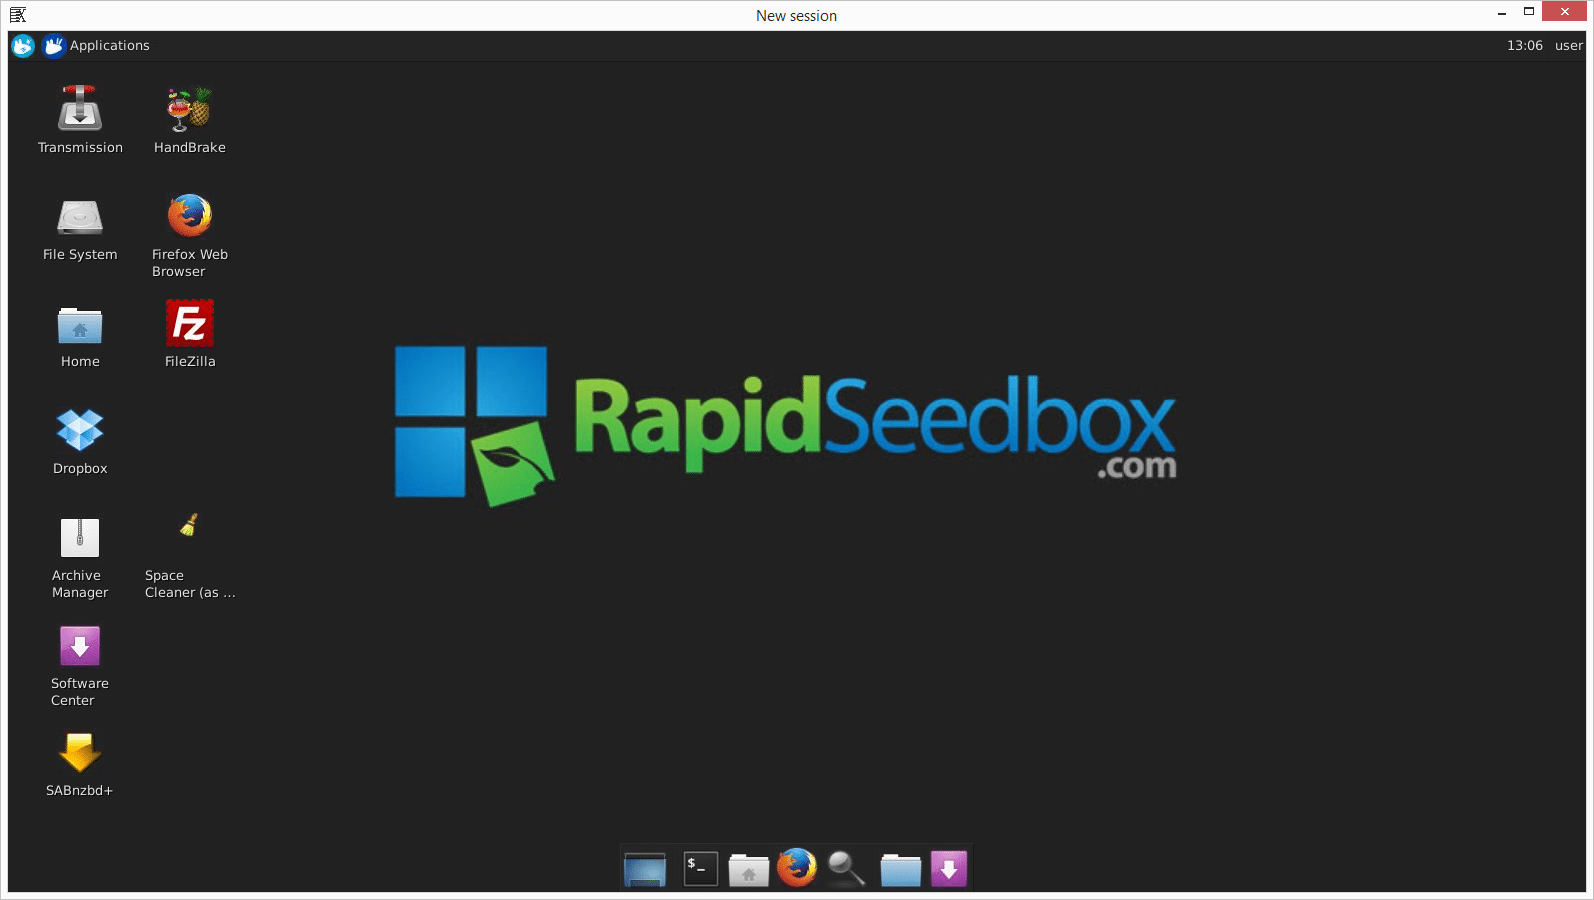
Step 5 – Successful Seedbox Remote Desktop Login
Within a few moments, If your login details are correct, you will be able to use your Seedbox Remote Desktop.


