We at Rapidseedbox value our clients above anything else. Because of that, we are in the constant search for ways to implement new stuff so our clients can have the best service possible.
Due to high demand, we implemented One-click Installers that help you quickly install over 50 applications on your machine with minimum effort.
What are One-click Installers?
One-click Installers are executable scripts that when initiated auto auto-install and configure desired software onto clients’ seedboxes without any previous requirements and inquiries from the client’s side.
To be blunt, whichever software you want from the One-click Installers list to be installed on your seedbox, all you have to do is click on it and wait for it to be installed.
How to access the One-Click Installers page?
First, you need to access your Client Area.
You can access your Client Area by navigating to the link found in your Welcome email.
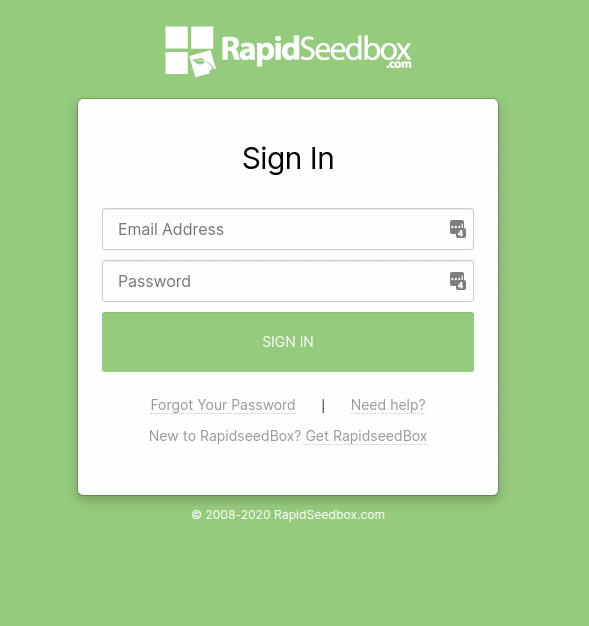
A login window will be displayed (see picture below).
Enter your credentials, and press SIGN IN.
Note: If you enter the wrong credentials more than three times, our System will blacklist your IP. This happens due to the prevention of Brute-force attacks.
Our system removes your IP from the blacklist within 15 minutes from the last attempt so please be patient. Otherwise, reboot your router to have a new IP address allocated.
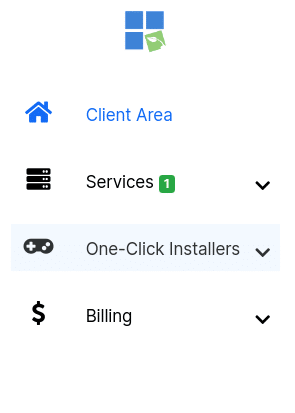
After you log in to your Client Area on your left side you will see a Menu link with different groups for your service.
Among these links, you will see one that is named “One-click Installers” ( see picture below ).
Just click on it and it will show you the list of all your Seedboxes.
Navigation between different seedboxes.
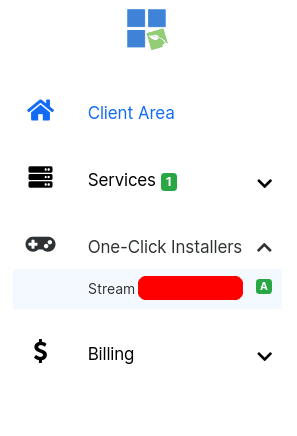
Look on the side menu, under One-Click Installer, navigation link that includes your seedbox plan name and your seedbox IP, for example: Quick (111.111.111.111) – default or custom name for your seedbox.
This way you can navigate between all your seedboxes ( if you have more than one ) and install and uninstall software on the seedbox that you chose.
If you have more than one seedbox all your other seedboxes will be represented as menu links like one on the picture above. In order to access them, you just need to click on them.
First usage of One-click installers
As soon as you choose Seedbox from the One-click Installers menu group and move from the installed tab to the all tab, you will see the notification about the Seedbox Maintenance installation.
As you can see the first time when you use One-click Installers you should install the Maintenance installer ( Only the first time ). (see image below)
This is due to operating system updates being required in order to provide the best possible foundation for all future installations, and in that way prevent glitches and bugs from being created.
Also, this update will freshen up your operating system and update all the software to its latest available versions.
You can always Refresh your Seedbox, by clicking on the Refresh button on the right corner of the installers table (see image below).
This will Refresh your installers with a web application, so you will be up-to-date online.
Installed, Recommended, Available, Conflicting, and Unavailable tabs
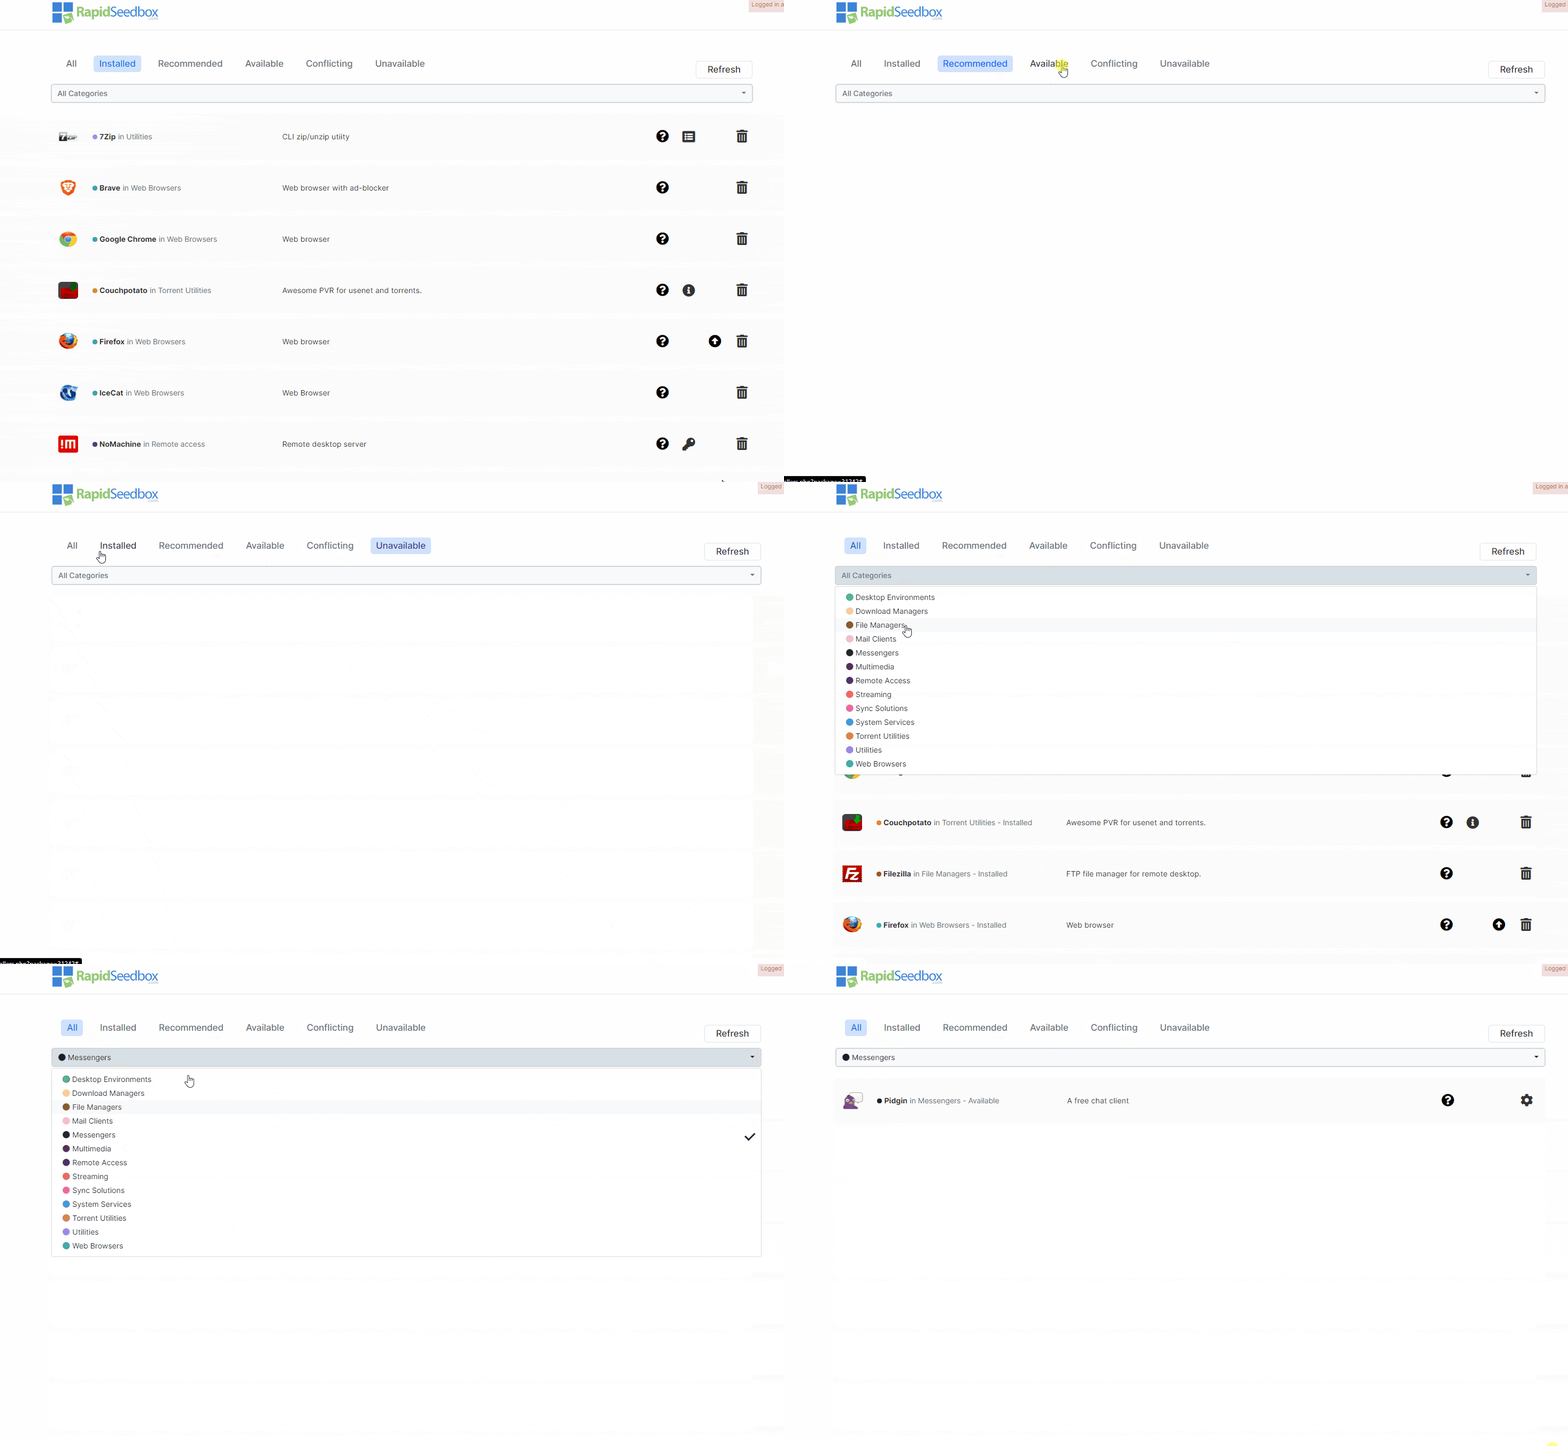
When you first enter the One-click Installers page you will be located in the Installed tab and in the tab you will see that nothing is installed, yet. Go to the Available tab and install whatever you want, it’s very simple.
Generally speaking in the Installed tab, you can find all installers that are already installed for you. If you wish to install any other app, you can choose the Available or Recommended tab where you will find a list of apps that are either available or recommended to install on your seedbox.
As soon as you install any of the available installers, they will be transferred to your Installed tab. So you can always know which installers are on your seedbox and which ones are available for you to install.
If on the other hand, you want to see why you can’t find some specific app under the available tab, you can look for it under the Conflicting and Unavailable tabs. Conflicting are those apps that are in conflict with some other app that is already installed. Therefore, they can’t be installed without breaking the already installed app. Unavailable apps are those apps that are unavailable due to plan restrictions. If you want to install those apps, you will have to change your plan.
How to use One-click Installers?
In order to install the wanted installer, navigate to the Available or Recommended tab. From there, you can filter thanks to the dropdown menu. Alternatively, you can find the app manually, and with a click on the cog icon, you will install it.
After that, a small info window will appear in the right top corner. It will look like in the picture below.
After that, the Installer will go from Available to Installed tab. From there, you will be able to uninstall it by pressing the trashcan icon. Alternatively, you’ll see the credentials of the wanted installer (if it has them) by pressing the key icon.
This is all you need to know to be able to use your One-click Installers like a pro 🙂


